
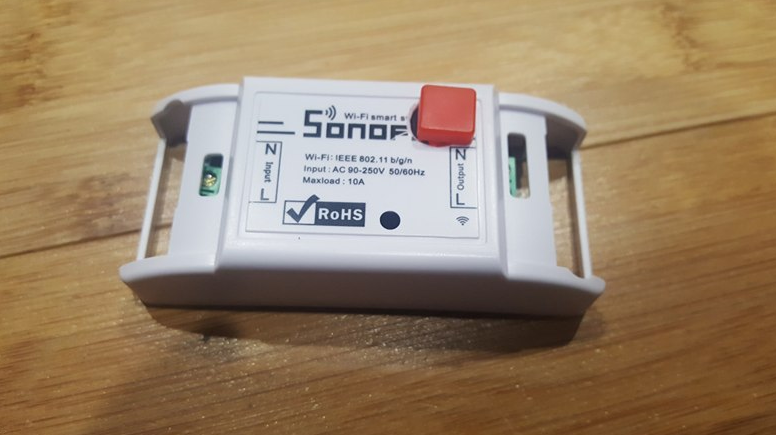
Sonoff Basic Custom Firmware using Arduino
Upload a custom firmware to Sonoff Basic using Arduino IDE in 6 steps. I added a momentary push button to toggle the relay state.
Contents
- Setup Arudino with ESP8266 Board Manger
- Configure Arduino IDE for Programming
- Connect USB to serial UART to Sonoff Basic
- Write Firmware
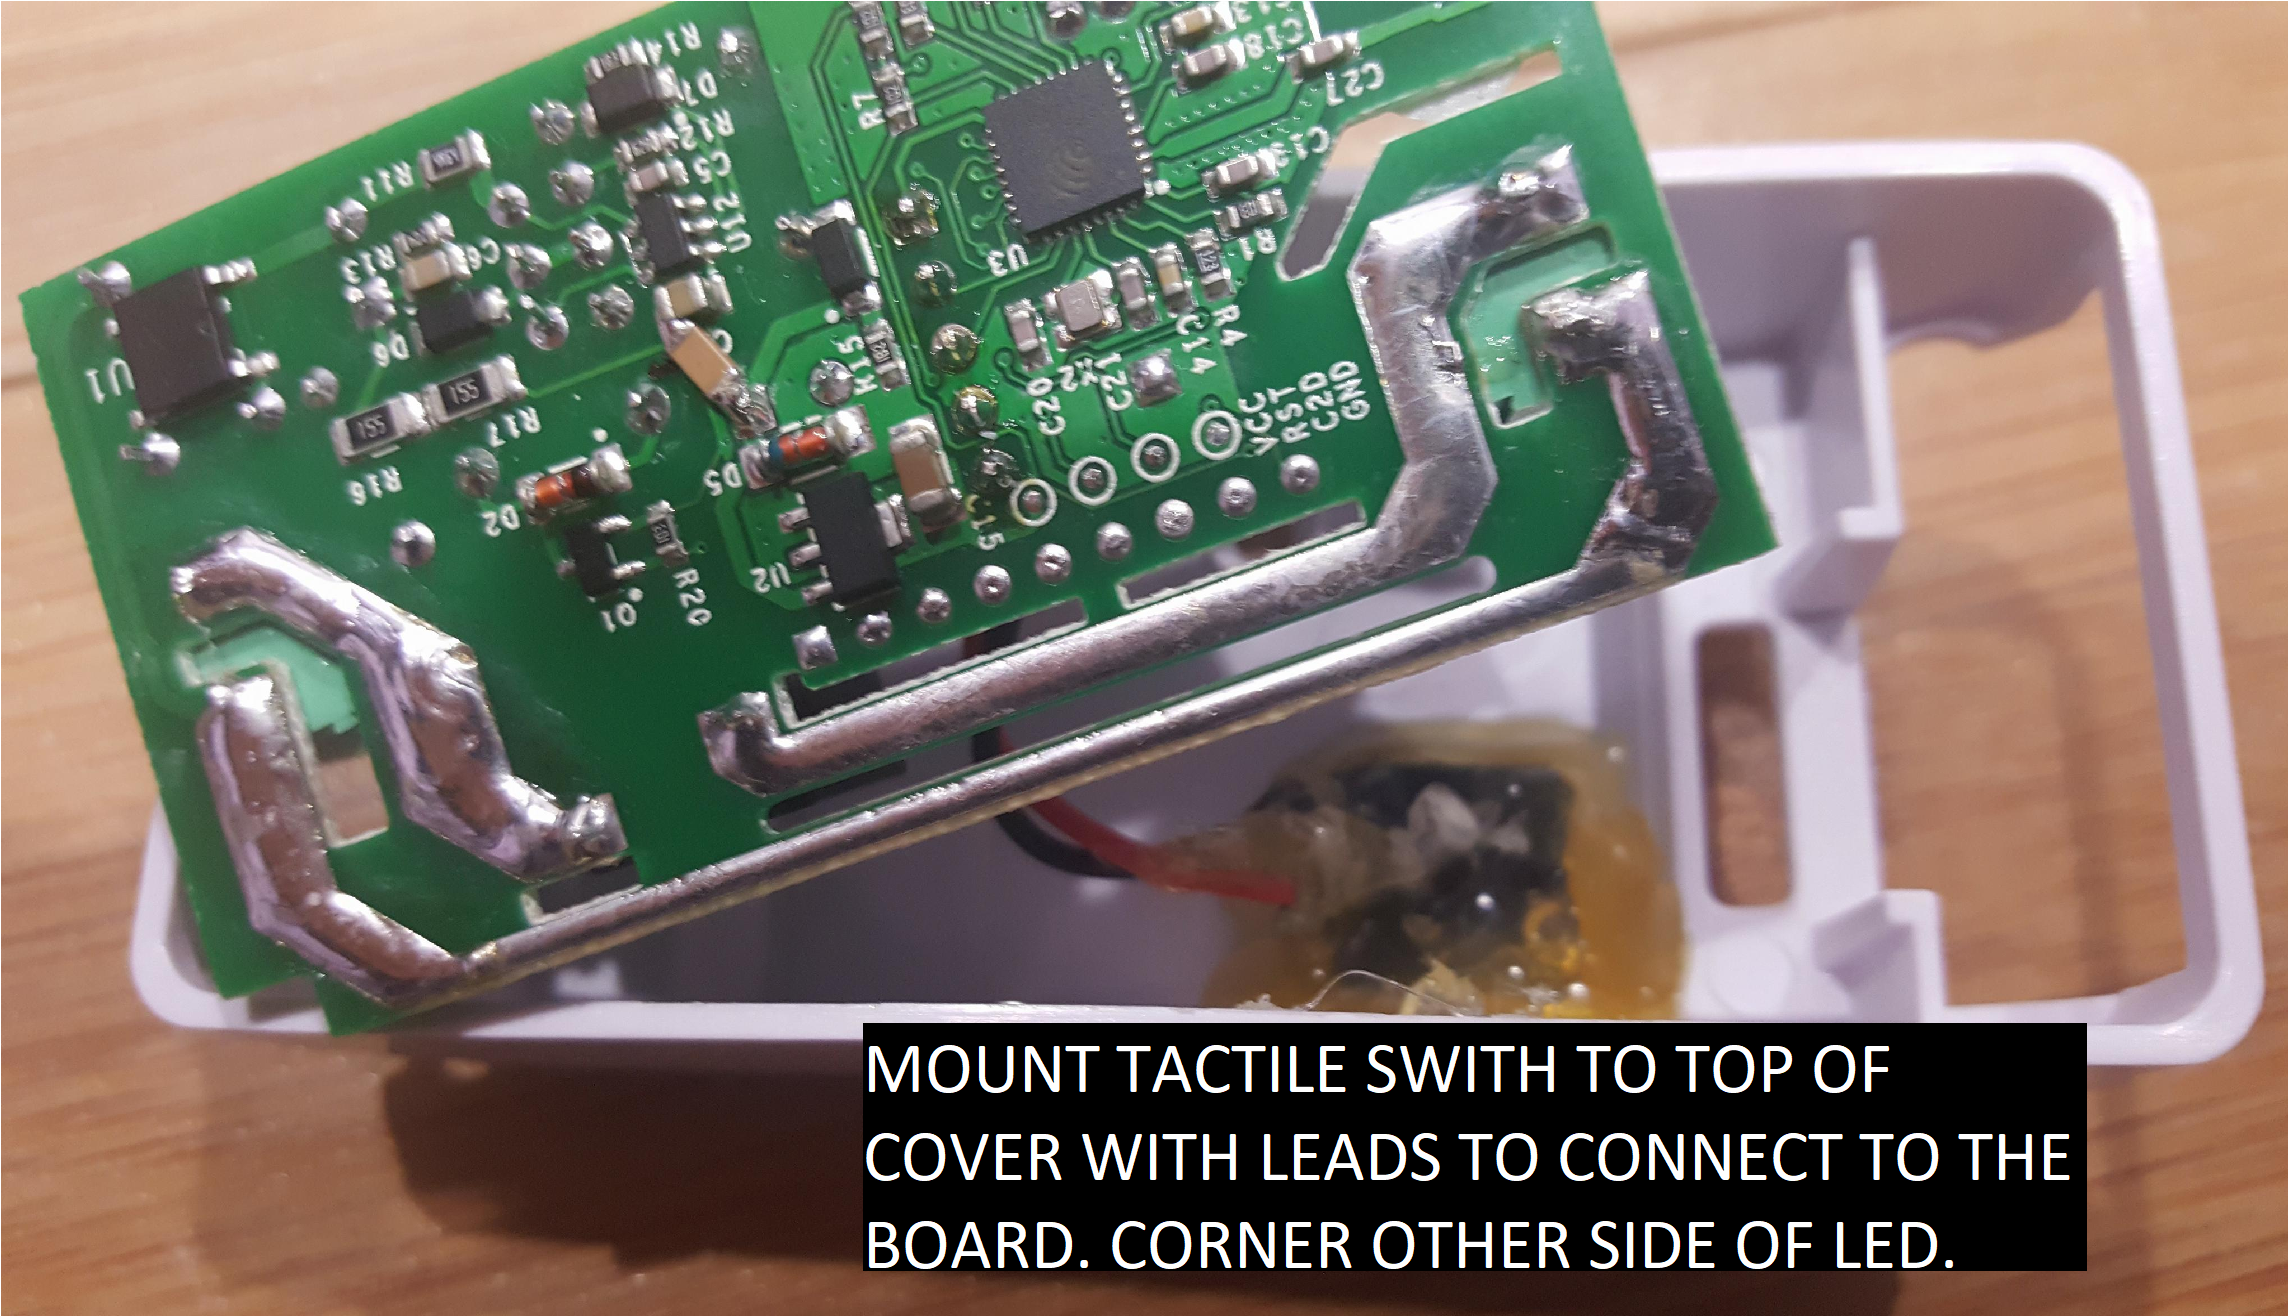
- Adding Toggle Push Button
- Upload Firmware to Sonoff Basic
- Links
- Troubleshooting
1. Setup Arudino with ESP8266 Board Manger
These links provide detailed instructions for completing step #1.
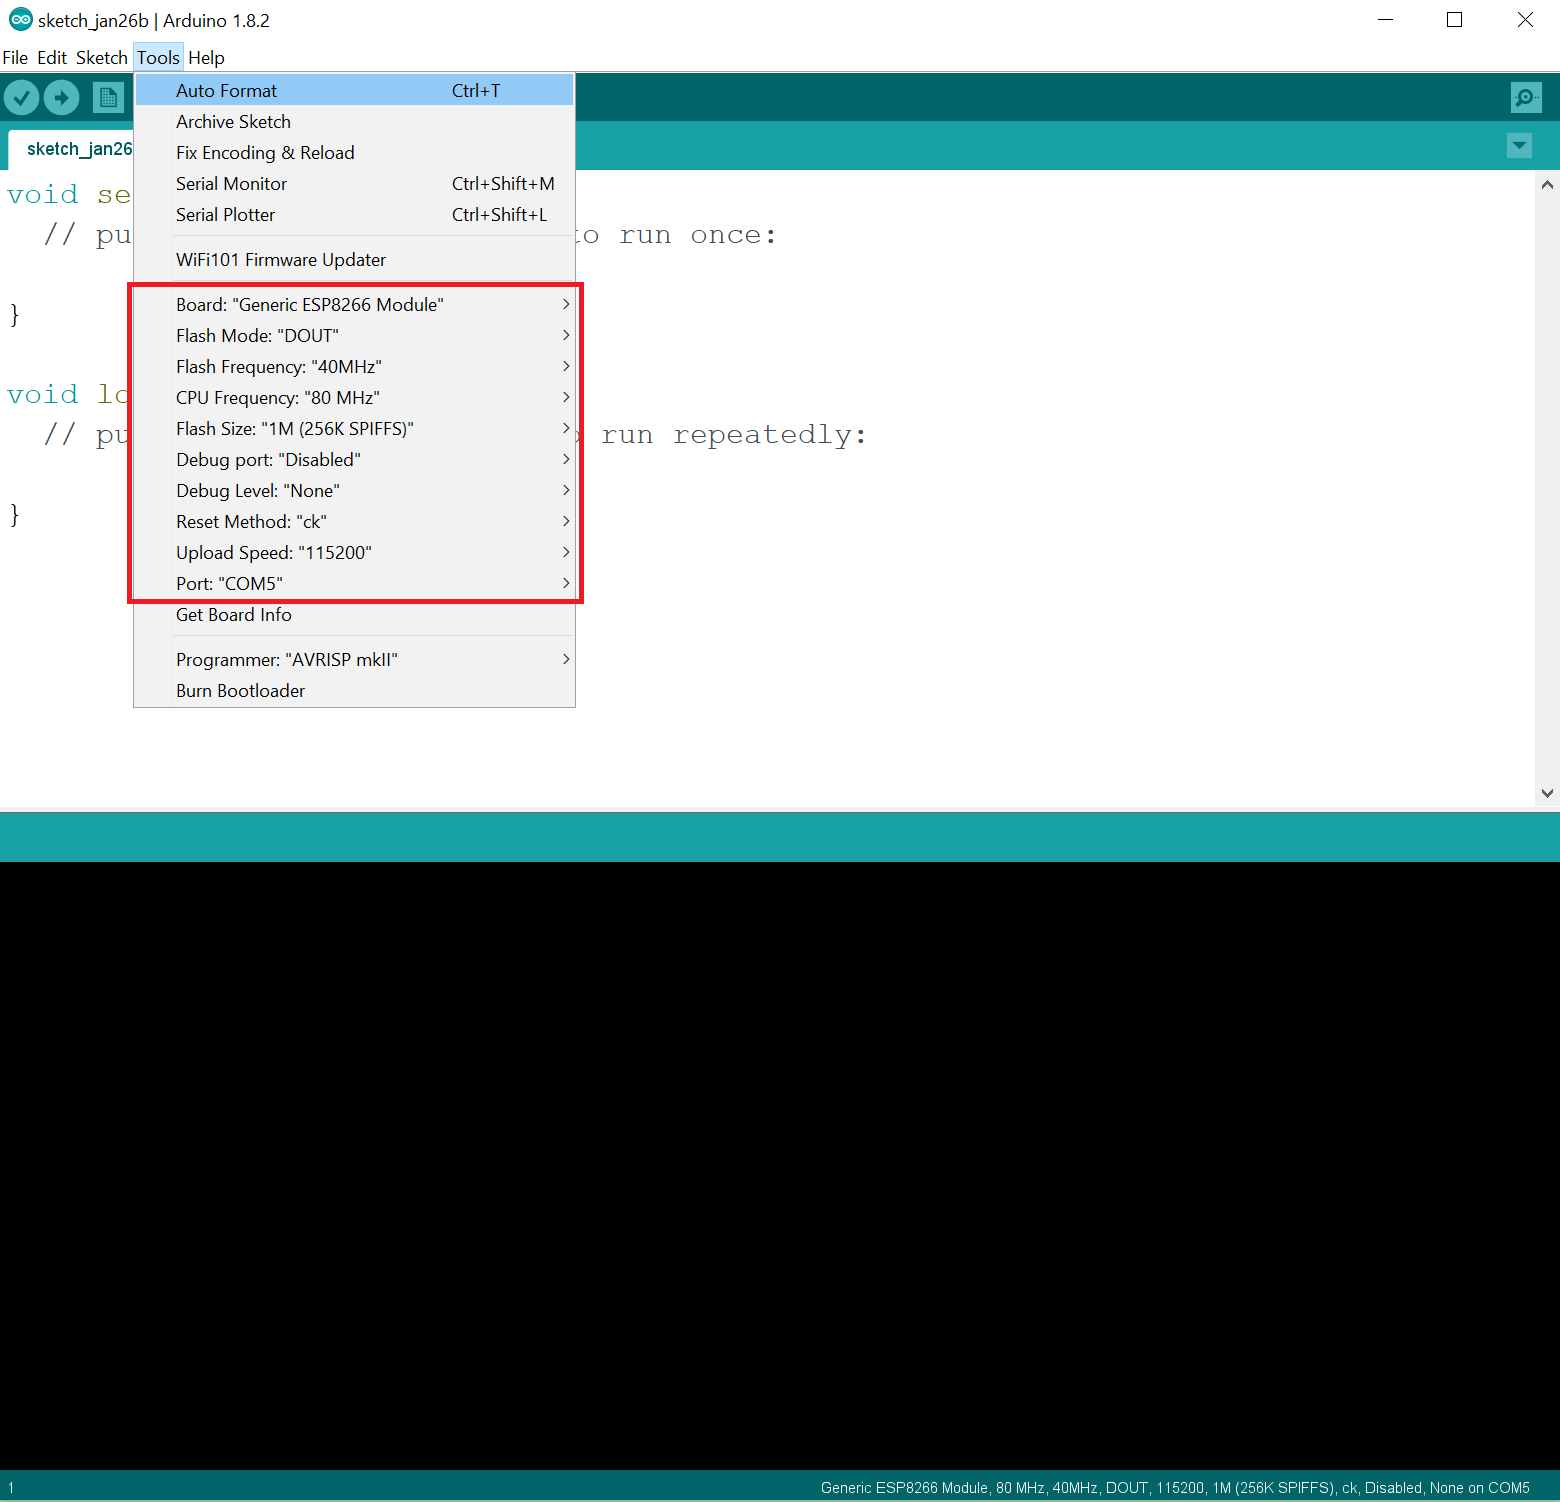
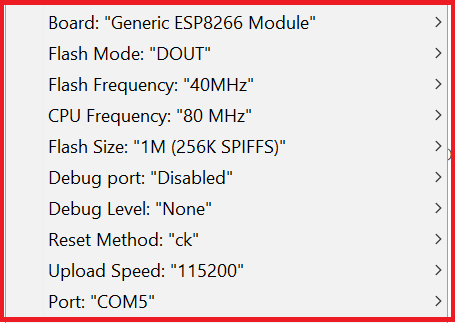
2. Configure Arduino IDE for Programming
| Setting | Selection |
|---|---|
| Board: | Generic ESP8266 Module |
| Flash Mode: | DOUT |
| Flash Frequency: | 40MHz |
| Upload Using: | Serial |
| CPU Frequency: | 80MHz |
| Flash Size: | 1M (256K SPIFFS) |
| Debug Port: | Disabled |
| Debug Level: | None |
| Reset Method: | chk |
| Upload Speed: | 115200 |
| Port: | USB to Serial UART COM Port |
Make sure to set your set the Port once the USB to serial UART is connected.
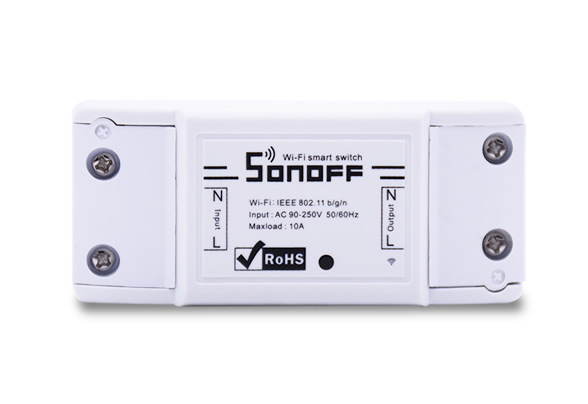
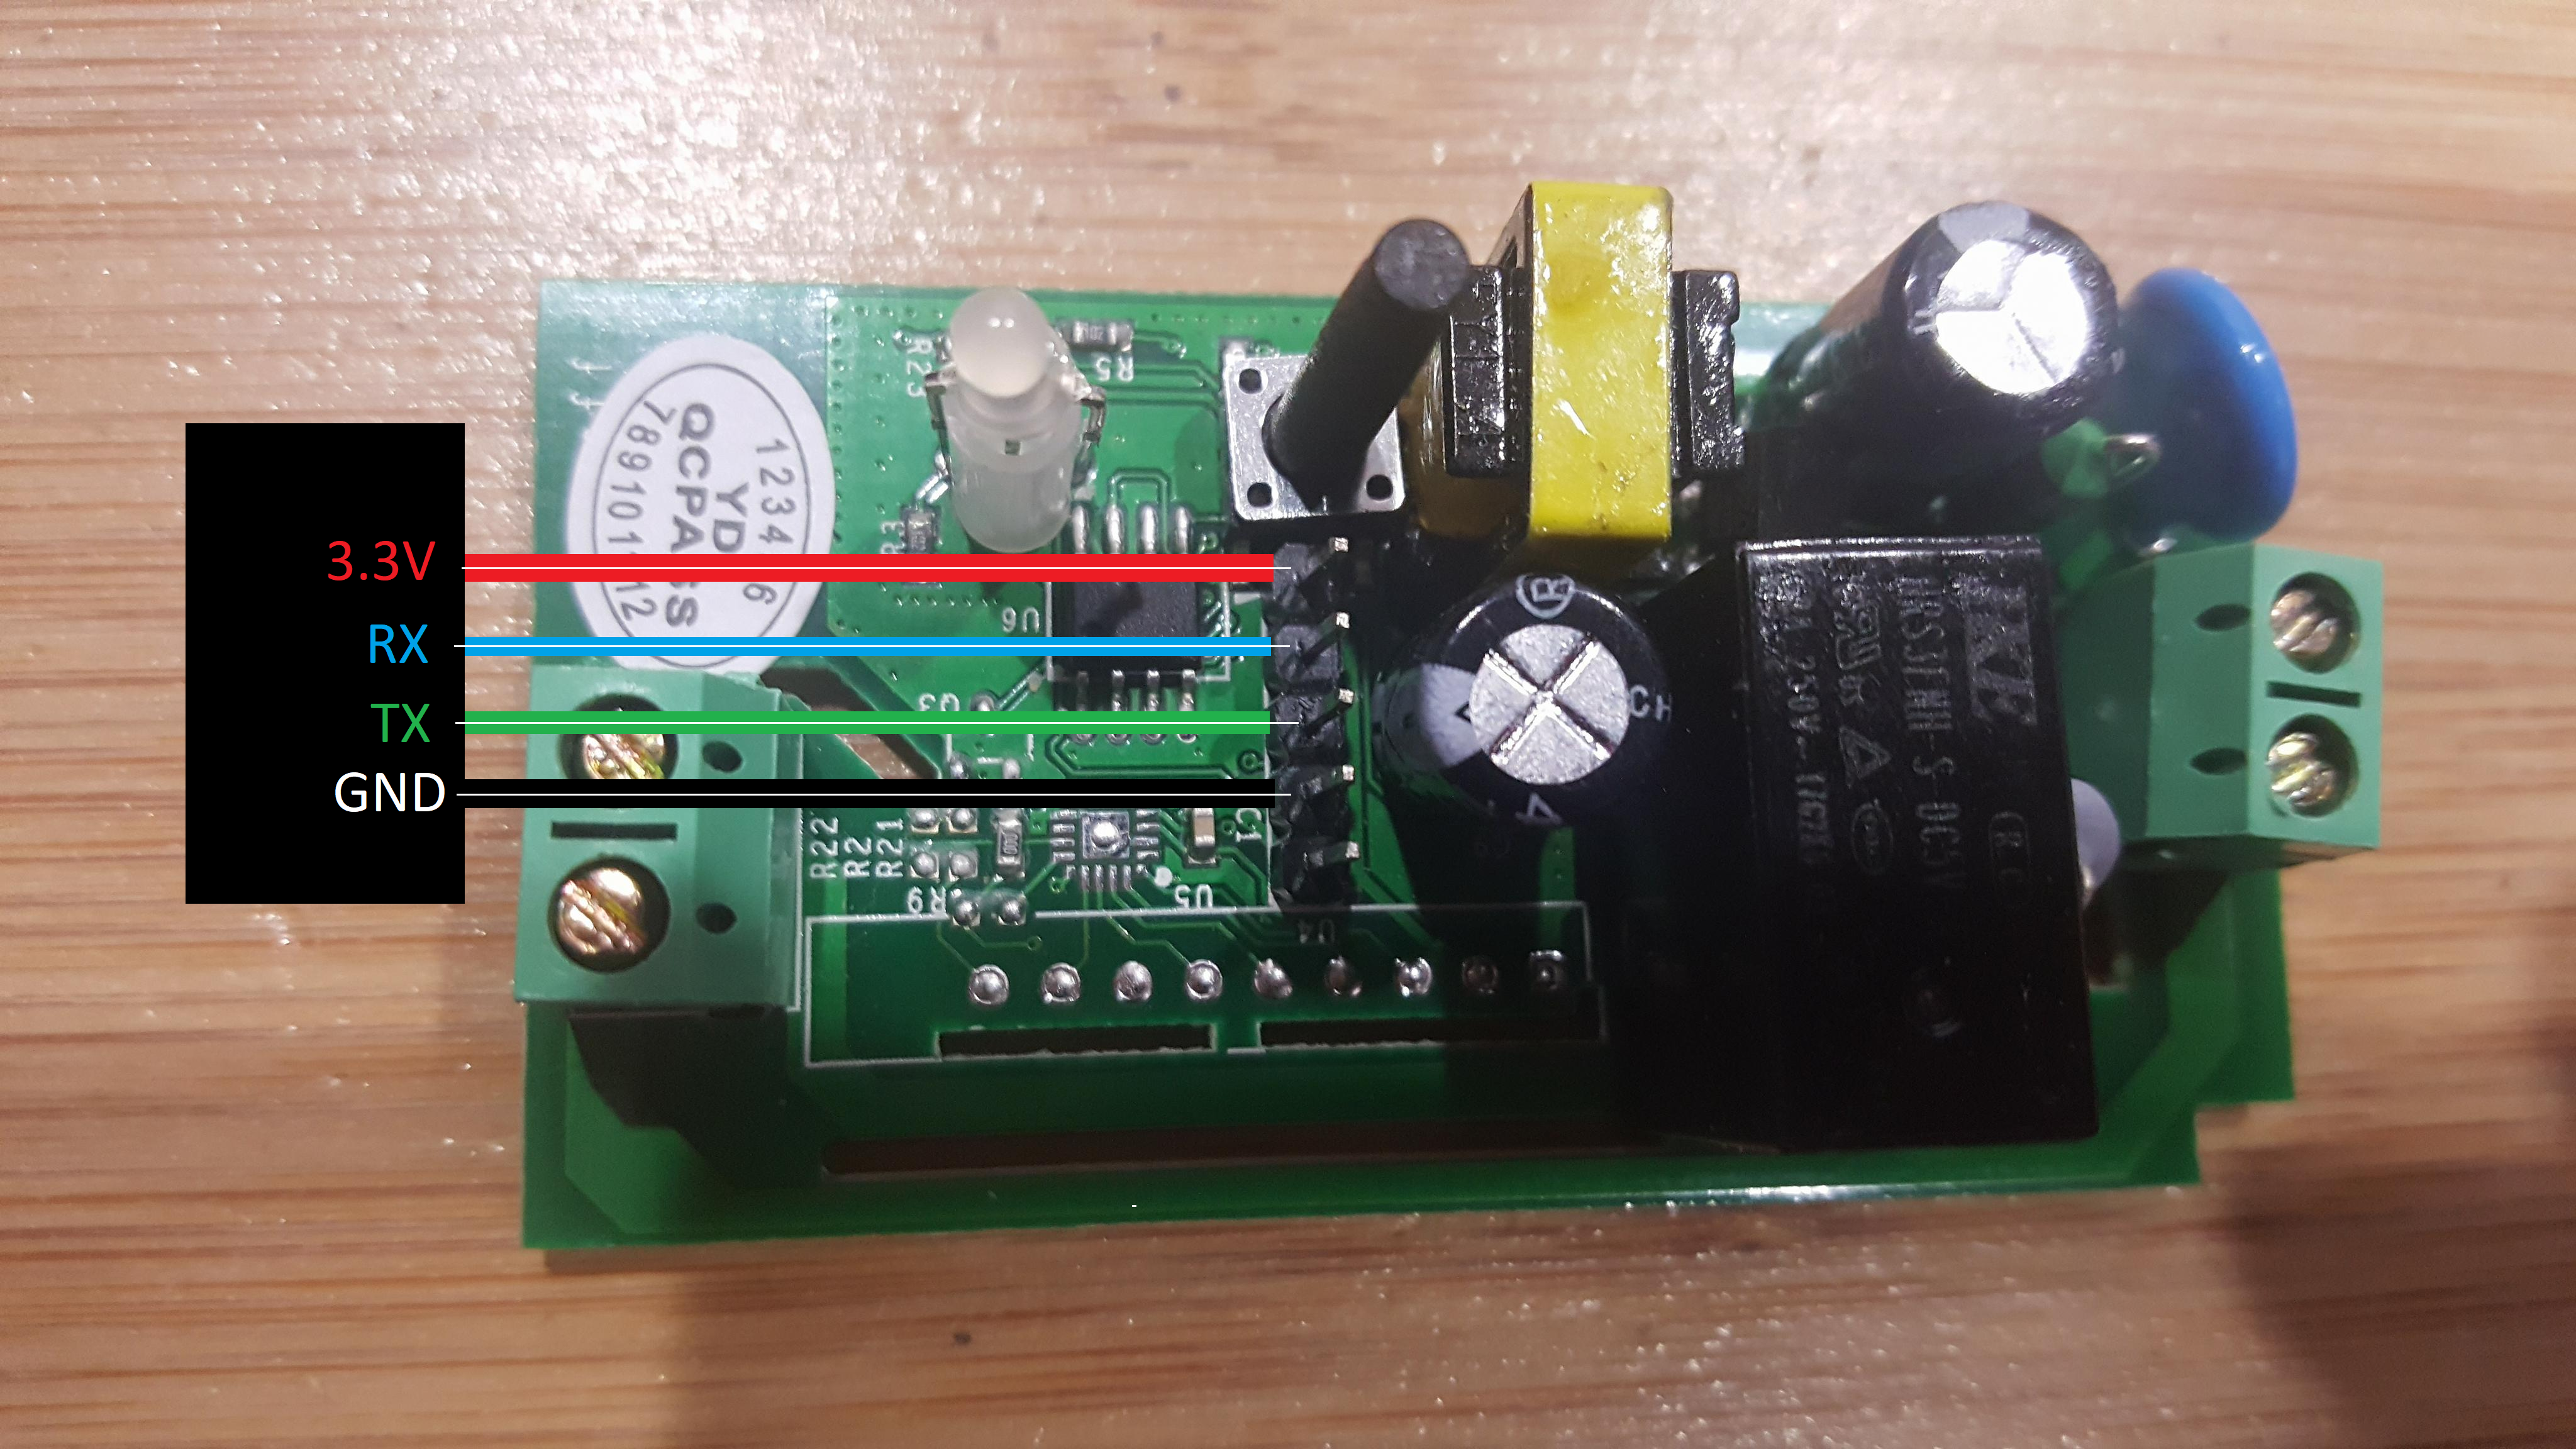
3. Connect USB to serial UART to Sonoff Basic
4. Write Firmware
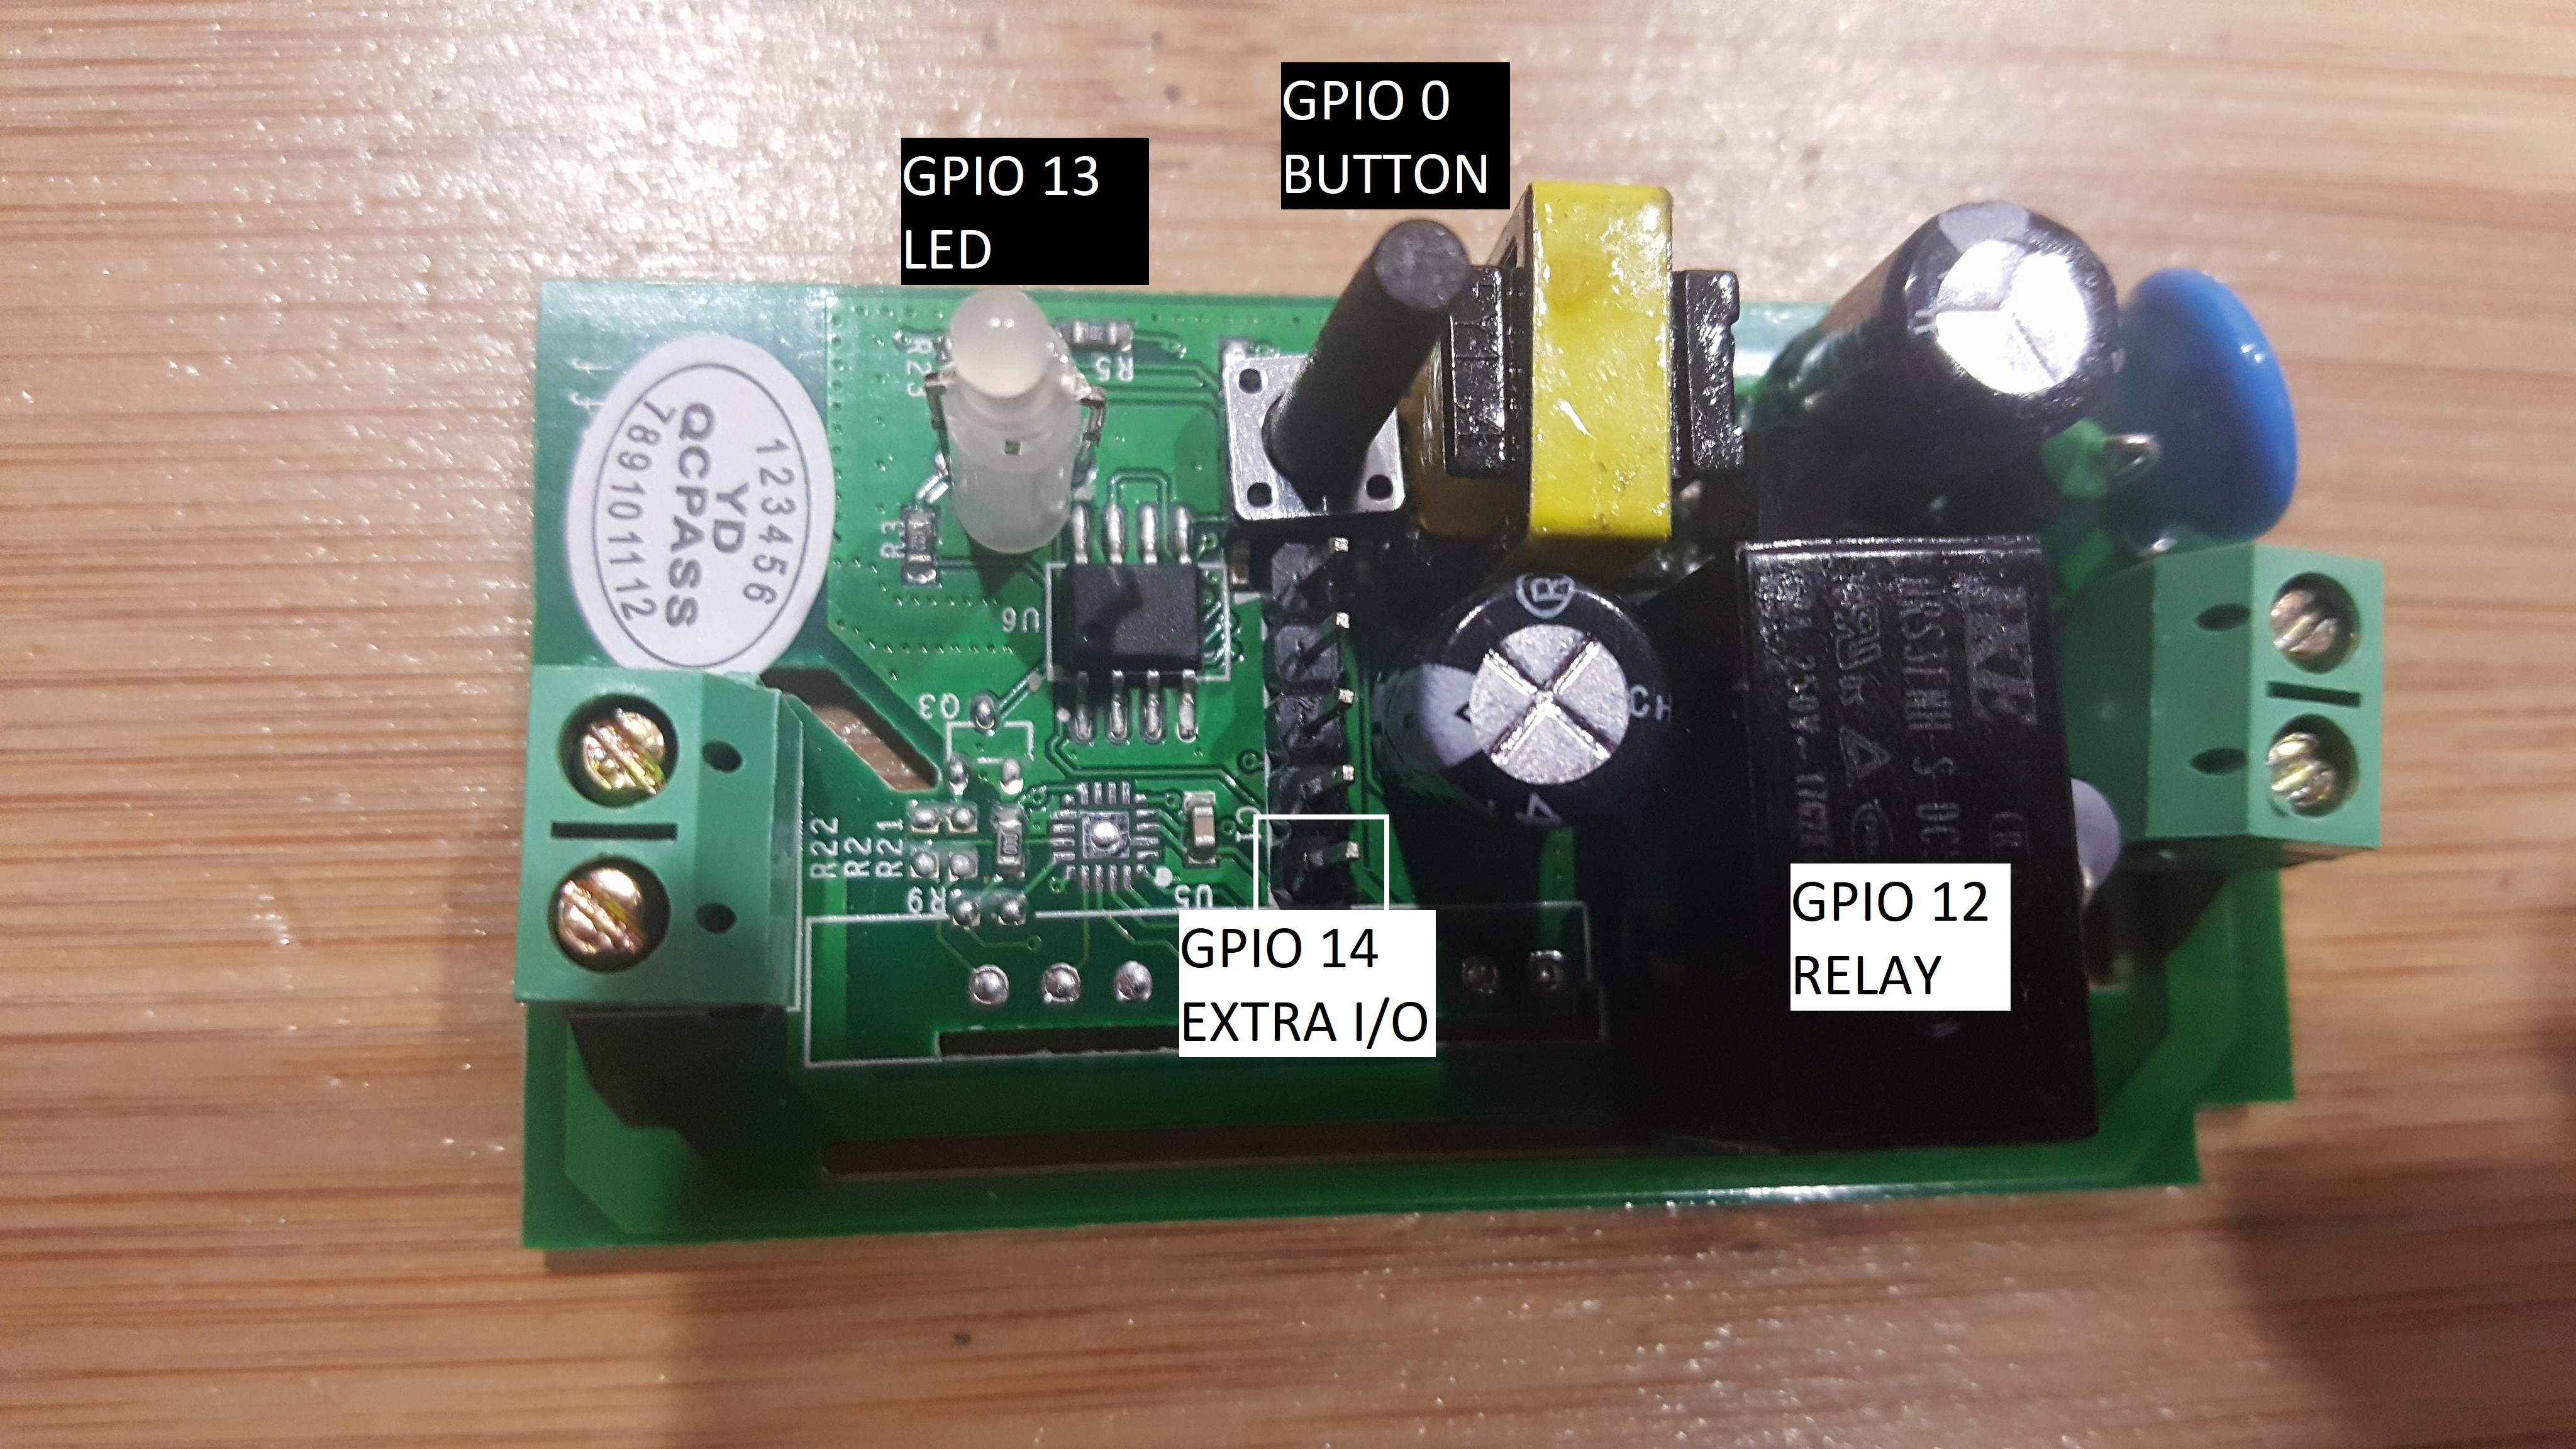
| GPIO | Component |
|---|---|
| 0: | BUTTON |
| 13: | LED |
| 12: | RELAY |
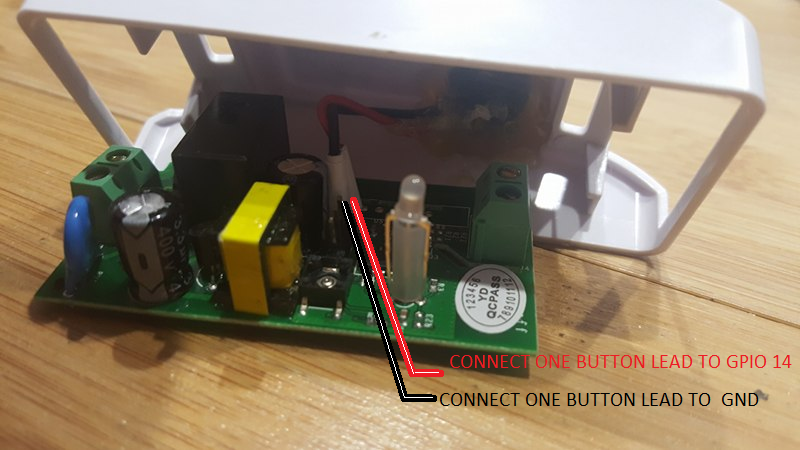
| 14: | EXTRA GPIO |
SonOffBasicWithPushButtonToggle.ino
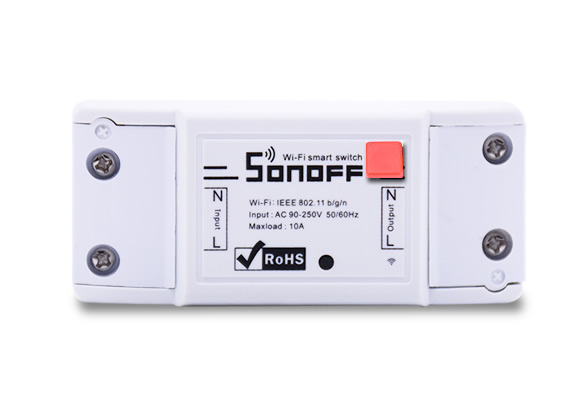
5. Adding Toggle Push Button
6. Upload Firmware to Sonoff Basic
Upload firmware requires GPIO 0 BUTTON to be depressed upon boot to enable the bootloader. There is no reset button on the Sonoff Basic, the button must be depressed before connecting the 3.3V source. After power is connected GPIO 0 BUTTON can be released. Make sure the correct COM PORT is selected and go to Sketch -> Upload. If you have problems, look into flashing the chip with the tool shown in Troubleshooting.
7. Links
8. Troubleshooting
Sometimes the firmware upload will not be successful, flashing then trying again can often resolve the issue. Make sure to use Flash Mode: DOUT and Flash Size: 1MB when flashing.